_01JMZ4H43P2JR7Z62M1XDT4TBF.png)
Custom Variables for Zapier: The Art of Personalized Social Proof 🧠🎨
Zapier is the ultimate "connector," allowing you to pull data from over 6,000+ apps into your Fomo notifications. While our default variables (first_name , city , title , etc.) are powerful, Custom Variables are where the real CRO magic happens.
According to e-commerce strategy experts, relevance is the #1 driver of trust. When a customer sees exactly how another person is using your product, the "cognitive friction" of buying disappears.
Step-by-step instructions to connect the Zapier integration can be found here.
🧪 Industry Opportunities: How to Use Custom Data
By adding custom fields, you can tailor your social proof to fit your specific industry needs:
-
Clothing & Fashion: Show more than just the purchase.
"Someone just grabbed their favorite {{ style_preference }} look!" 👗
-
Electronics & Computers: Highlight the power.
"A tech enthusiast just upgraded to the {{ ram_size }} model!" 💻
-
Tools & Hardware: Showcase the pro-grade choice.
"A contractor just secured a set of {{ durability_rating }} locks for their next project." 🛠️
-
Hygiene & Subscriptions: Prove the commitment.
"Someone just joined our {{ subscription_tier }} club for monthly refills." 🧼
-
Jewelry & Gifts: Celebrate the sentiment.
"A thoughtful customer just added a {{ custom_engraving }} to their order." 💎
🛠️ Step-by-Step: Adding Your Custom Variables
Adding these variables takes less than two minutes and unlocks a world of personalization.
Step 1: Find Your Zapier Template
Log into Fomo, navigate to the Notifications tab, scroll down to the Zapier card, and click Edit.

Step 2: Add the Variable to Your Message
In your Notification Message text area, simply type the name of your new variable inside double curly brackets {{ }} .

Make sure to save on the top right corner of your screen!
- Example:
"Someone just purchased a {{ product_color }} {{ title }}!"
💡 Pro Tip: Even if you don't plan to show the variable in your message (for example, if you only want to use it for a Template Action), you must add it to the message box temporarily. Zapier "scans" this box to see which fields it should make available for mapping. You can remove it from the message after Step 3 is complete!
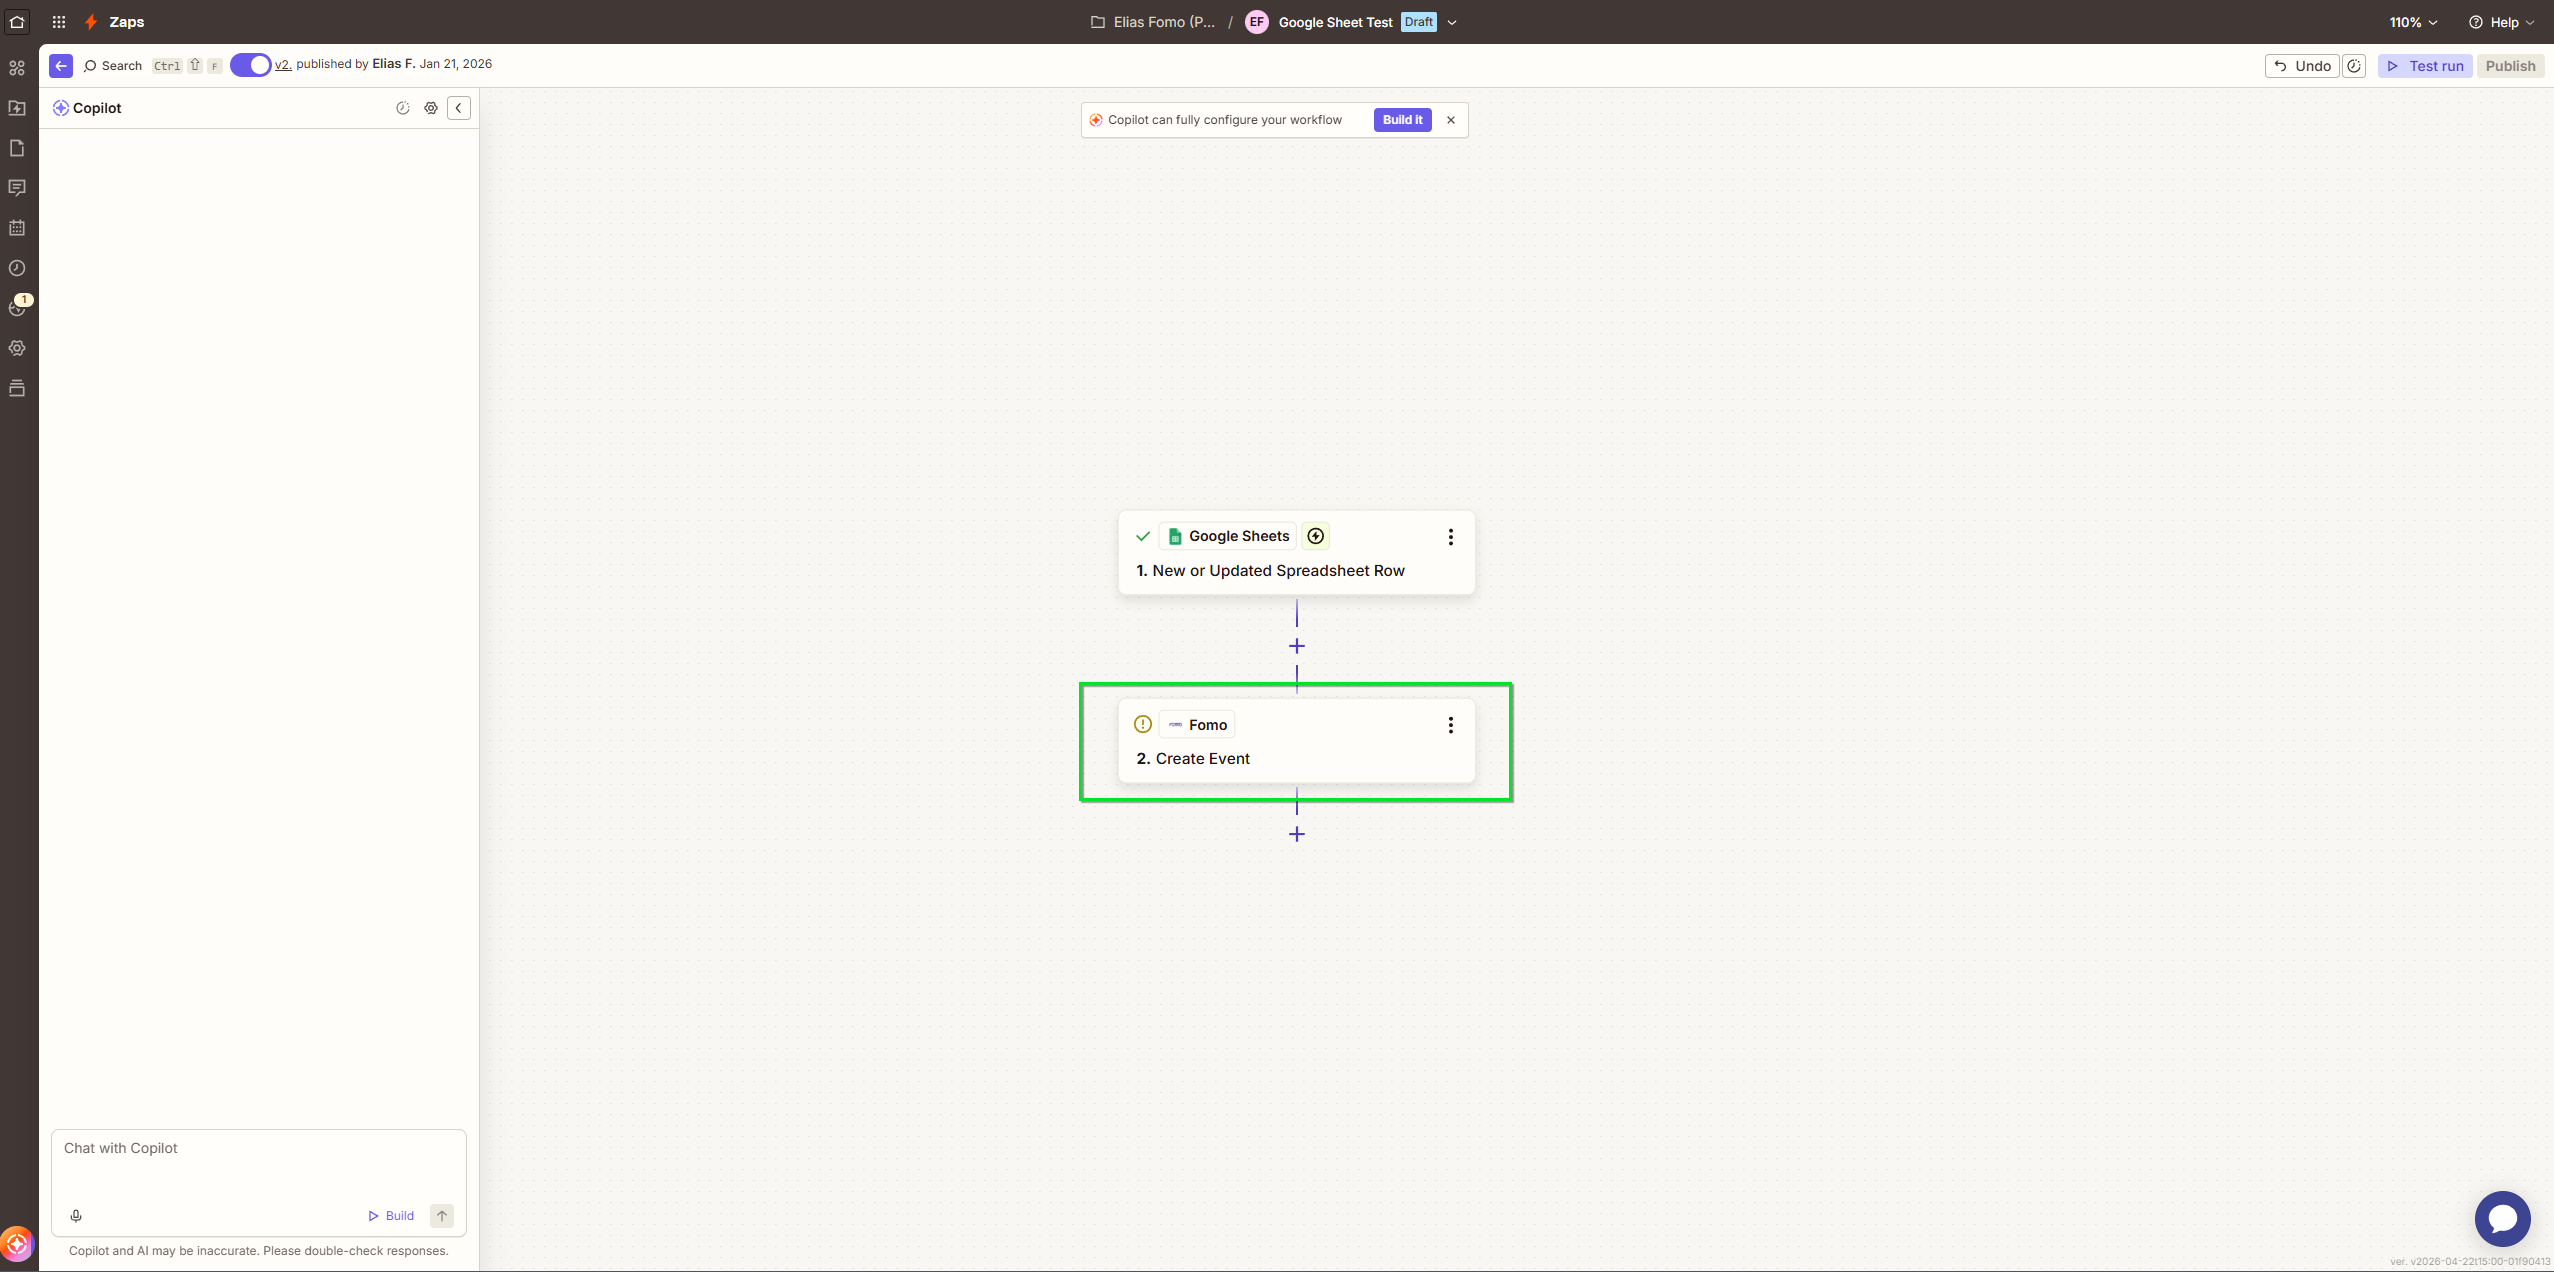
Step 3: Map the Data in Zapier
-
Head over to your Zapier dashboard and find your Zap.
-
In the Fomo Configure step,
First make sure you select the correct template matching the one where you added the custom variable,
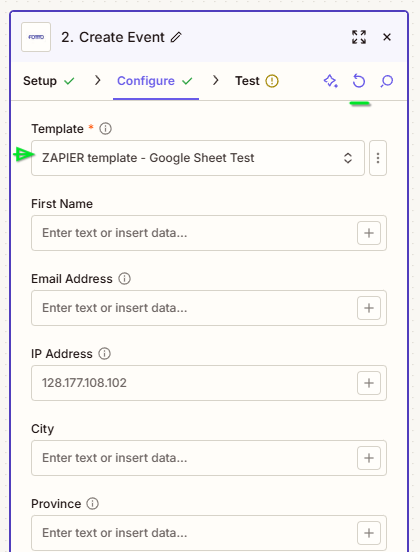
Then click "Refresh button" on the top right corner next to the loop,
-
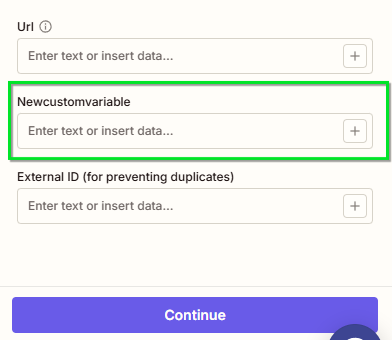
Your new custom variable (e.g.,
product_color) will now appear in the dropdown, ready to be mapped to data from your source app! 🔗


🚀 Advanced Synergy: Connectors, Rules, & Filters
To truly maximize your ROI, connect your custom variables to Fomo’s advanced feature suite:
- Strategic Routing with Template Connectors: Use Advanced Template Actions to route events based on your custom variable. For example: "If {{ subscription_tier }} is 'VIP', move the event to the VIP Template."
- Precision Targeting with Page Rules: Use Page Rules to ensure notifications with certain custom data only appear on relevant pages. Don't show "Professional Grade" tool alerts on the "Home DIY" category page! 🎯
- Visual Polish with Filters: Use Template Filters to clean up your custom data. If your Zapier data comes in lowercase, use the
{{ custom_var | propercase }}filter to keep your notifications looking sharp and professional.
🚀 We’re Here to Help You Scale
Every business has a unique data "sweet spot." If you aren't sure which custom variables will drive the highest engagement for your brand, we're obsessed with helping you find out.
Email us: Reach out to hello@fomo.com and our team will jump in.
Work with an Expert: We’ll hop on a call, share screens, and help you build a social proof strategy that fits your brand perfectly. Pick the day and time here.🥳