_01JMZ4H43P2JR7Z62M1XDT4TBF.png)
How to connect Cliniko
Cliniko is a leading patient management tool for private healthcare practices.
Connecting Cliniko to your Fomo account takes a few seconds, and requires no coding experience.
Step 1 - Get your Cliniko API Key
Inside Cliniko, click "My Info" from the Cliniko dashboard, left side menu underneath your name:
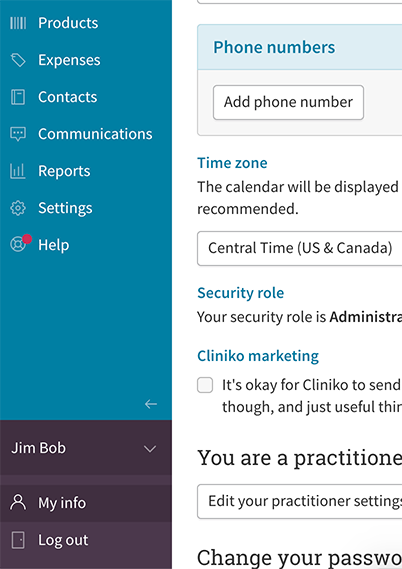
Note: you may have to give your account access to the API key manager -- you can do this by toggling on "allow yourself to create and use API keys" and clicking "update user":

Next, click "Manage API Keys".
On the API Keys page, click "Generate a new API Key" and copy your newly generated keys. We'll use this in Step 2. For more information about this process, go here.
Note: Fomo will never modify any of your Cliniko data, this integration is "read-only."
Step 2 - Connect Fomo
Inside Fomo, navigate to the Notifications tab, click 'Add Notifications, then 'All Notifications and search for the word "cliniko".
Click 'Connect'. In the resulting page, copy/paste your 'API key' from Step 1 into the 'Cliniko API key' field. Click the orange 'continue' button.
Step 3 - You're Done!
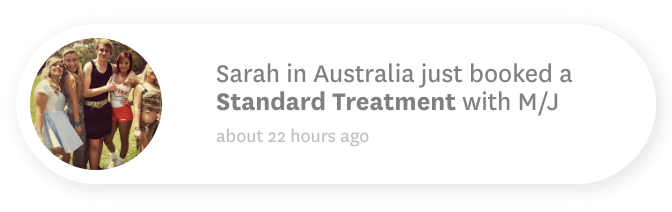
Fomo will immediately import recent appointment bookings from your patients.
Going forward, new Cliniko appointments will be sent to your Fomo event feed, and shown on your website in real-time.
To modify the messaging of your Fomo notifications, navigate to Notifications, locate the Cliniko Appointment template, and click 'edit' to add variables such as #{{ practitioner_name }}, #{{ appointment_category }}, and more.