_01JMZ4H43P2JR7Z62M1XDT4TBF.png)
The Ultimate Guide to Setting Up Fomo 🏆
This comprehensive guide is designed to take you on a journey from "just installed" to "conversion powerhouse." By the end of this article, you’ll know exactly how to leverage Fomo’s full potential to build trust and drive sales. 🚀
Welcome to the Fomo family! You’re about to turn your website into a bustling hub of activity. Social proof is one of the most powerful psychological triggers in marketing, and we're here to help you master it. Let’s get you set up for success! ✨
You got stuck ? 🤝
Reach out at .
-
Email us: Reach out to hello@fomo.com and our team will jump in.
- Work with an Expert: . We’ll hop on a call, share screens, and help you build a social proof strategy that fits your brand perfectly. Pick the day and time here.
Step 1 The Foundation: Installing Fomo 🔌
Before the magic happens, Fomo needs to be connected to your digital storefront. Depending on your platform, this is done in one of two ways:
-
E-commerce App Marketplaces: If you installed Fomo from a third-party marketplace (like Shopify or BigCommerce), your snippet is already installed for you! You can skip the code and start connecting notifications. 🛍️
-
Manual Setup & Custom Sites: If you signed up directly via Fomo.com for platforms like WooCommerce or custom builds, you'll need to embed the Fomo snippet.
How to embed the snippet: Simply copy your unique code from the Settings>Embed and paste it in the </head> tag of your site. 💻

-
📺 Watch this video for step-by-step instructions.
-
Specific instructions are also available for Squarespace, Neto, Kartra, Landingi, JS-only environments and for more check our documentation.
Stuck? If you've completed this manual, connected notifications, and have an event lineup but still don't see notifications live, check out our
troubleshooting guide. 🛠️. 🛠️
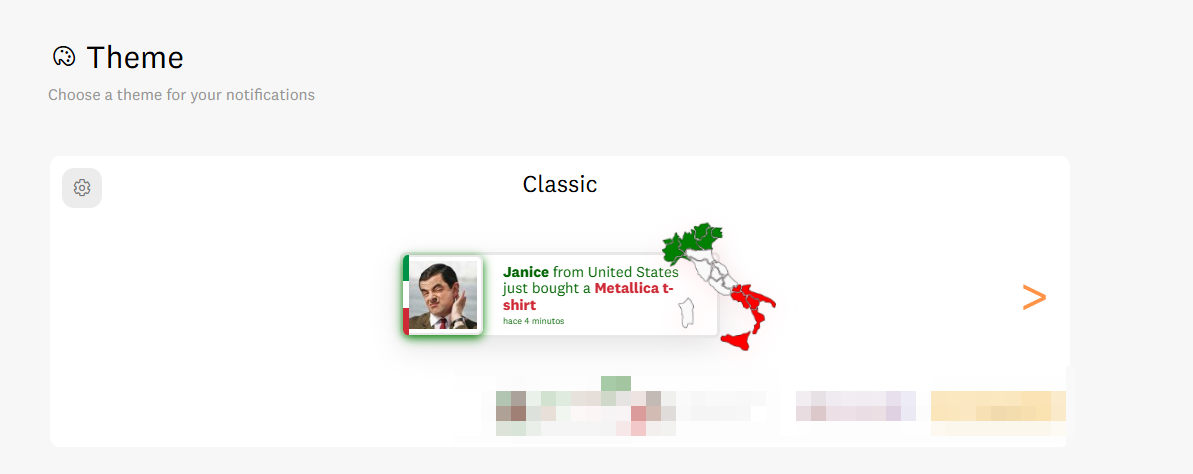
Step 2 Branding & Customization: Make it Yours 🎨
Consistency builds trust. Your notifications should feel like a native part of your website, not an afterthought.
-
Theme Selection: Choose from our library of beautiful, high-converting themes in the dashboard.
-
Custom Themes & CSS: Want total control? You can fully customize your notifications with CSS or even add a custom theme that overrides our default styles to match your brand's unique DNA perfectly. 🧬
-
Seasonal Flair: Keep your site fresh! Use our Holiday & Monthly Custom Theme Selector to match the vibe of the current season and boost engagement during peak shopping holidays. 🎄🎃

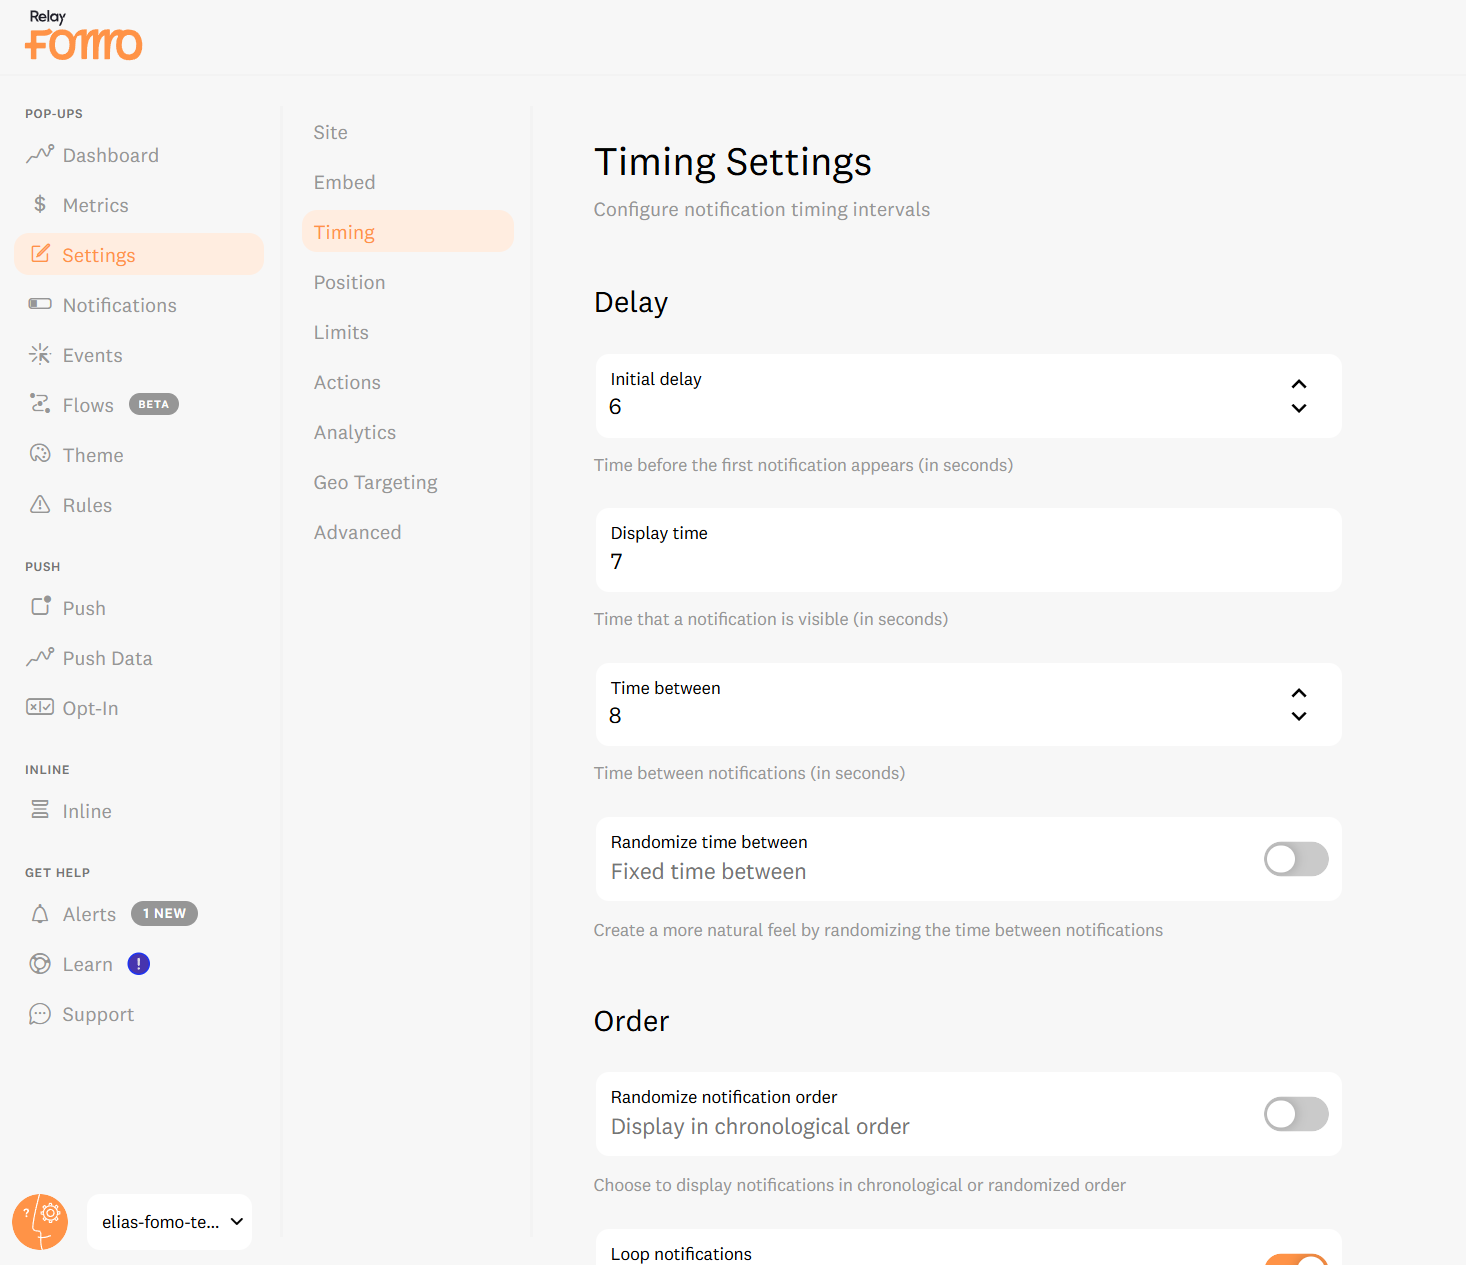
Step 3 Optimization: Settings & Testing ⚙️
Now that it looks great, let’s make sure it behaves great. You can find these controls in your dashboard:
-
Timeline: Control the rhythm! Set your initial delay (how long before the first notification appears) and the display time (how long it stays on screen: we recommend at least 6 seconds of display time). ⏱️
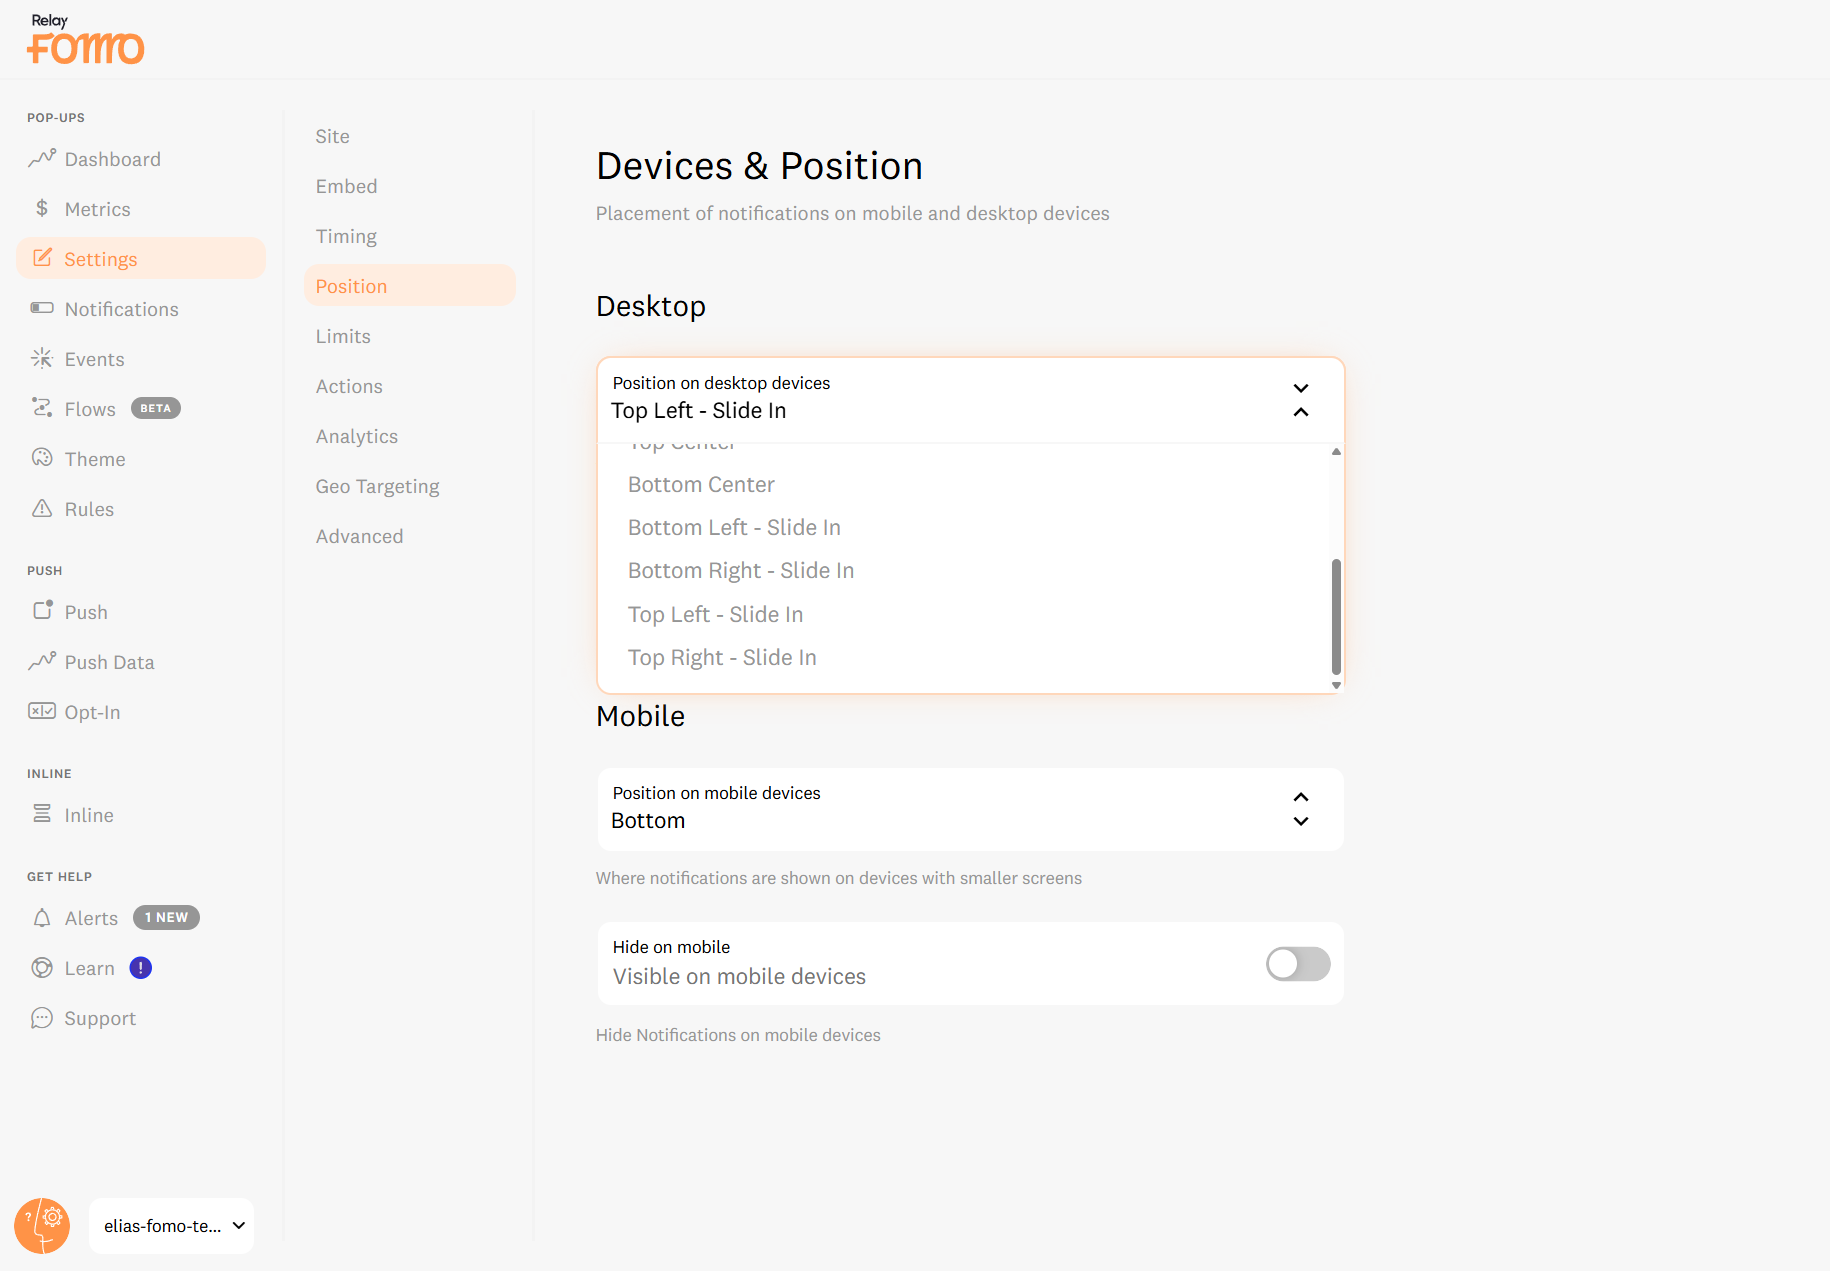
-
Devices & Position: Choose exactly where Fomo appears on desktop vs. mobile to ensure it never blocks a "Buy" button. 📱(We recommend you scroll down to the bottom and select the ones with slide in animation)
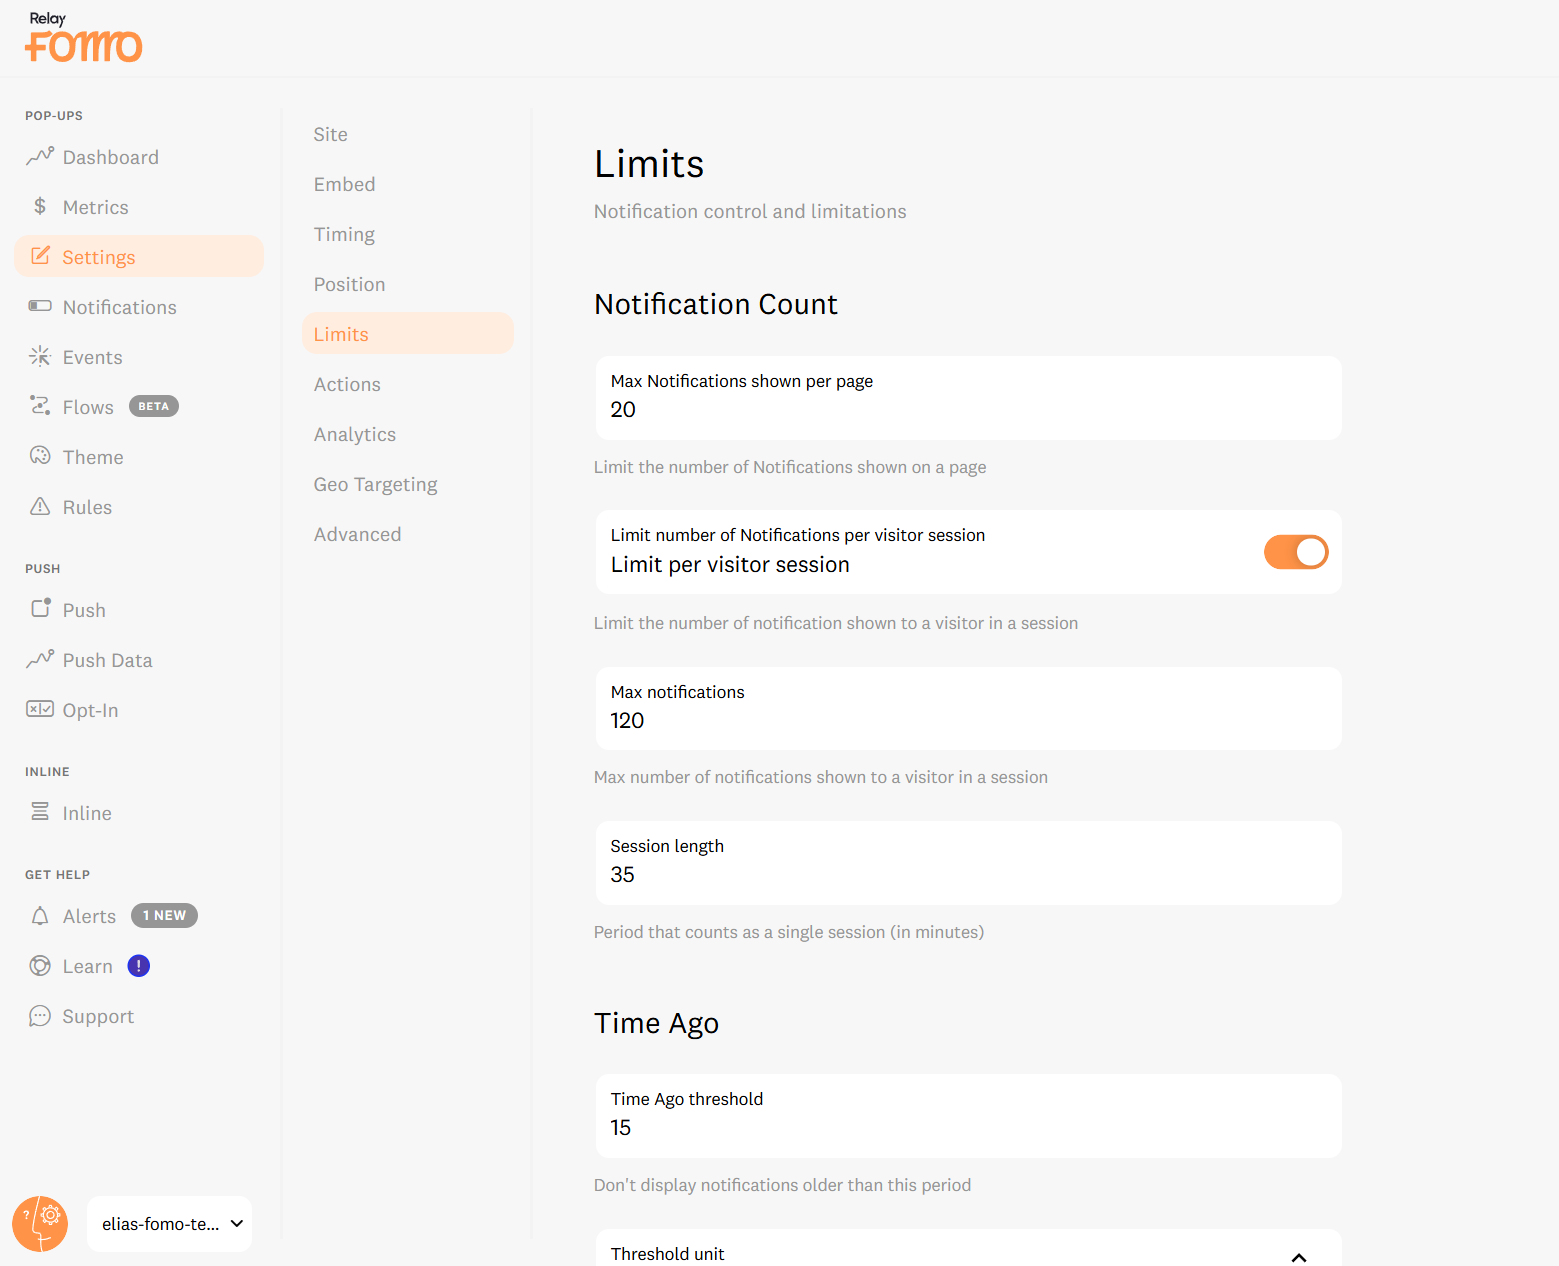
-
Limits: Keep it relevant by filtering notifications by recency and total count.


Testing Like a Pro 🧪
-
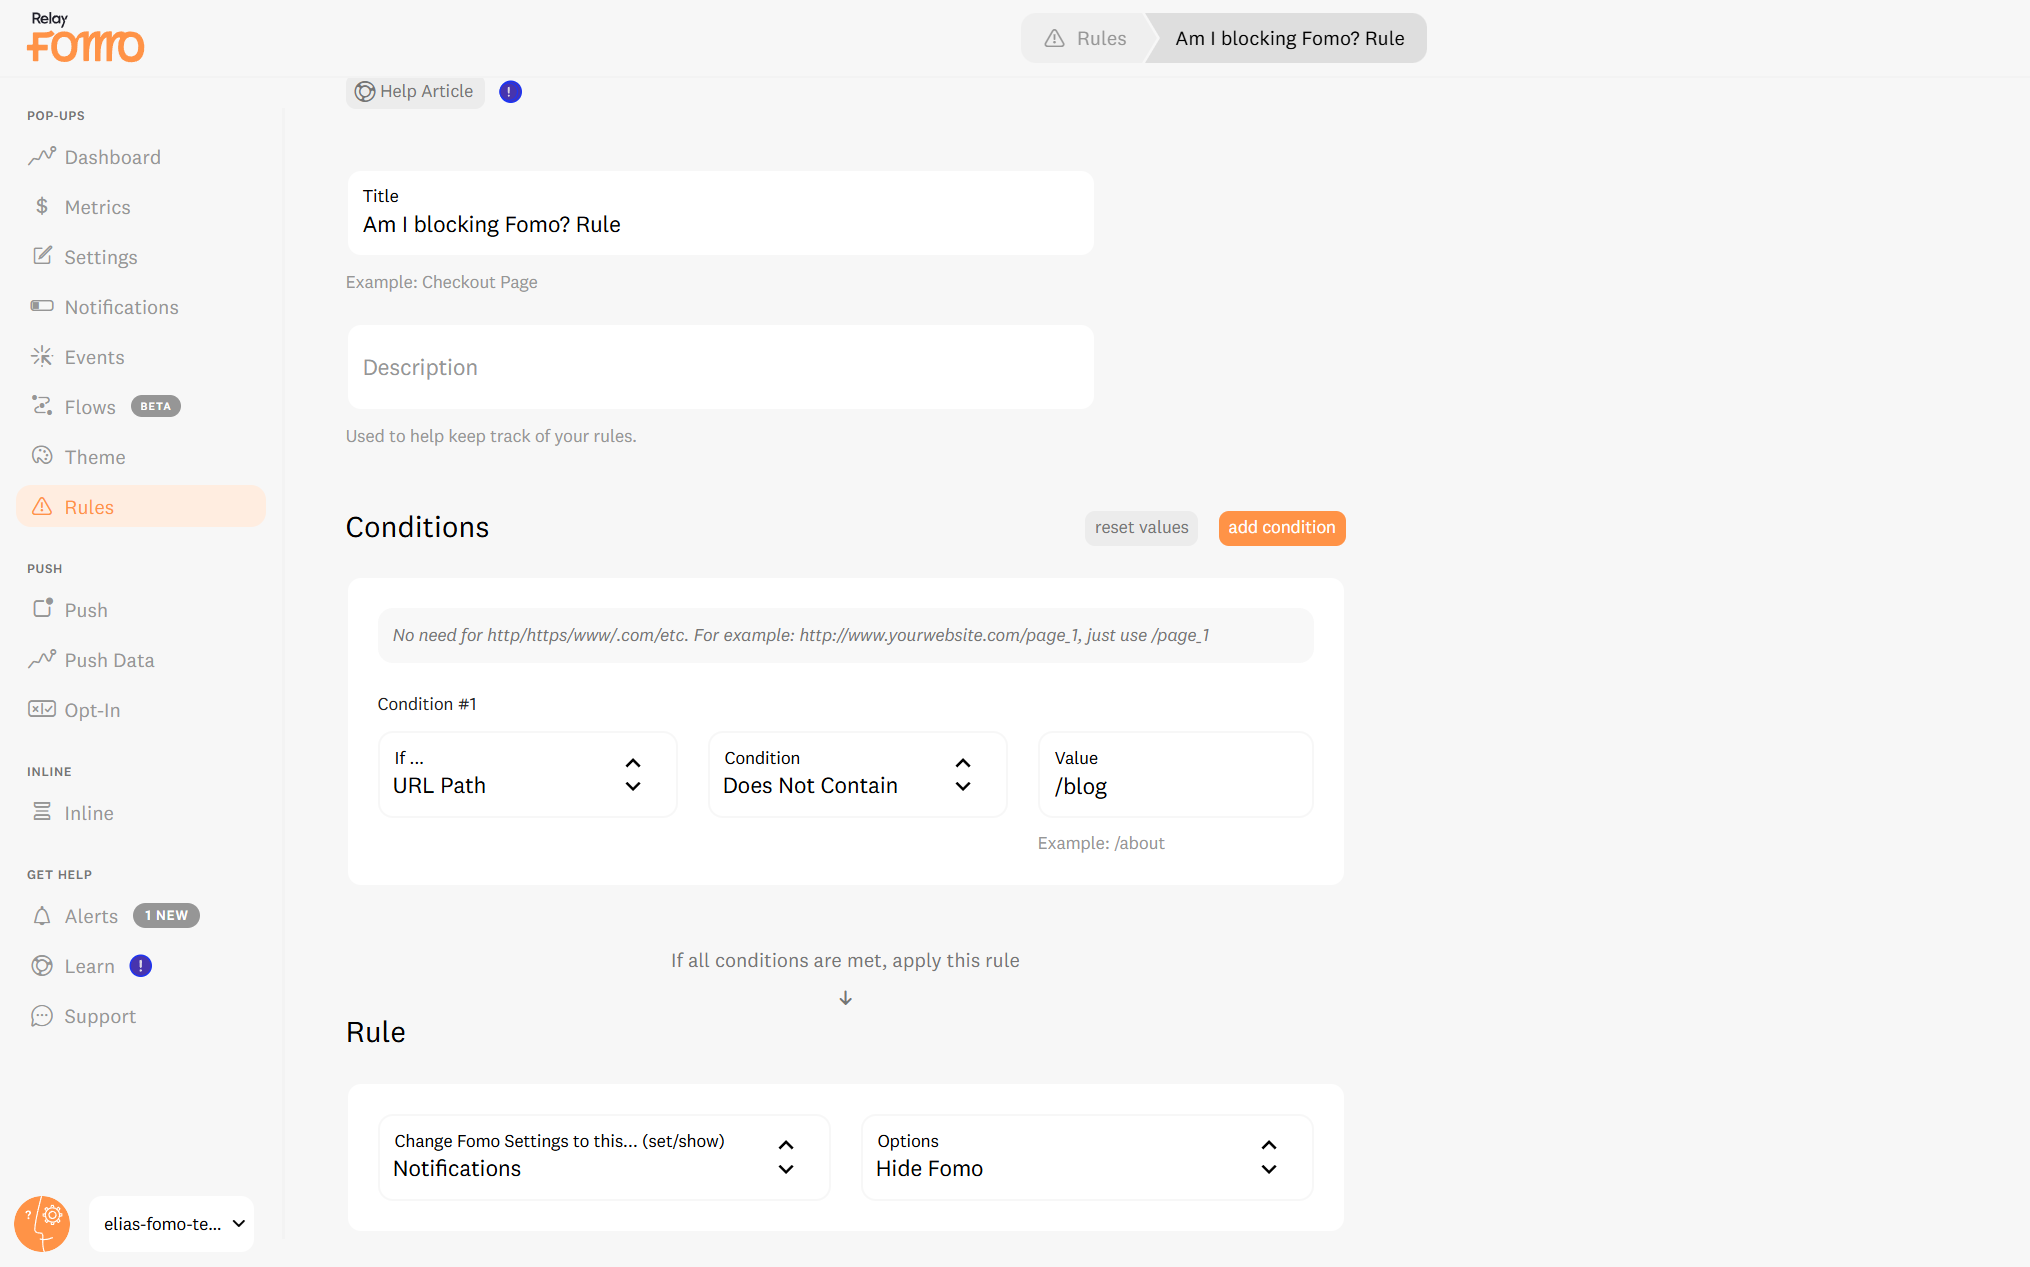
The "About Us" Strategy: Create a Page Rule to display Fomo only on a specific page (like "About Us") for testing. Delete the rule when you're ready to go live! 🎯
-
Pausing Fomo: Click the orange circle button (bottom left), click Sites, and toggle your site to OFF. ⏸️

Step 4 Measure Fomo's ROI & Metrics! 📉
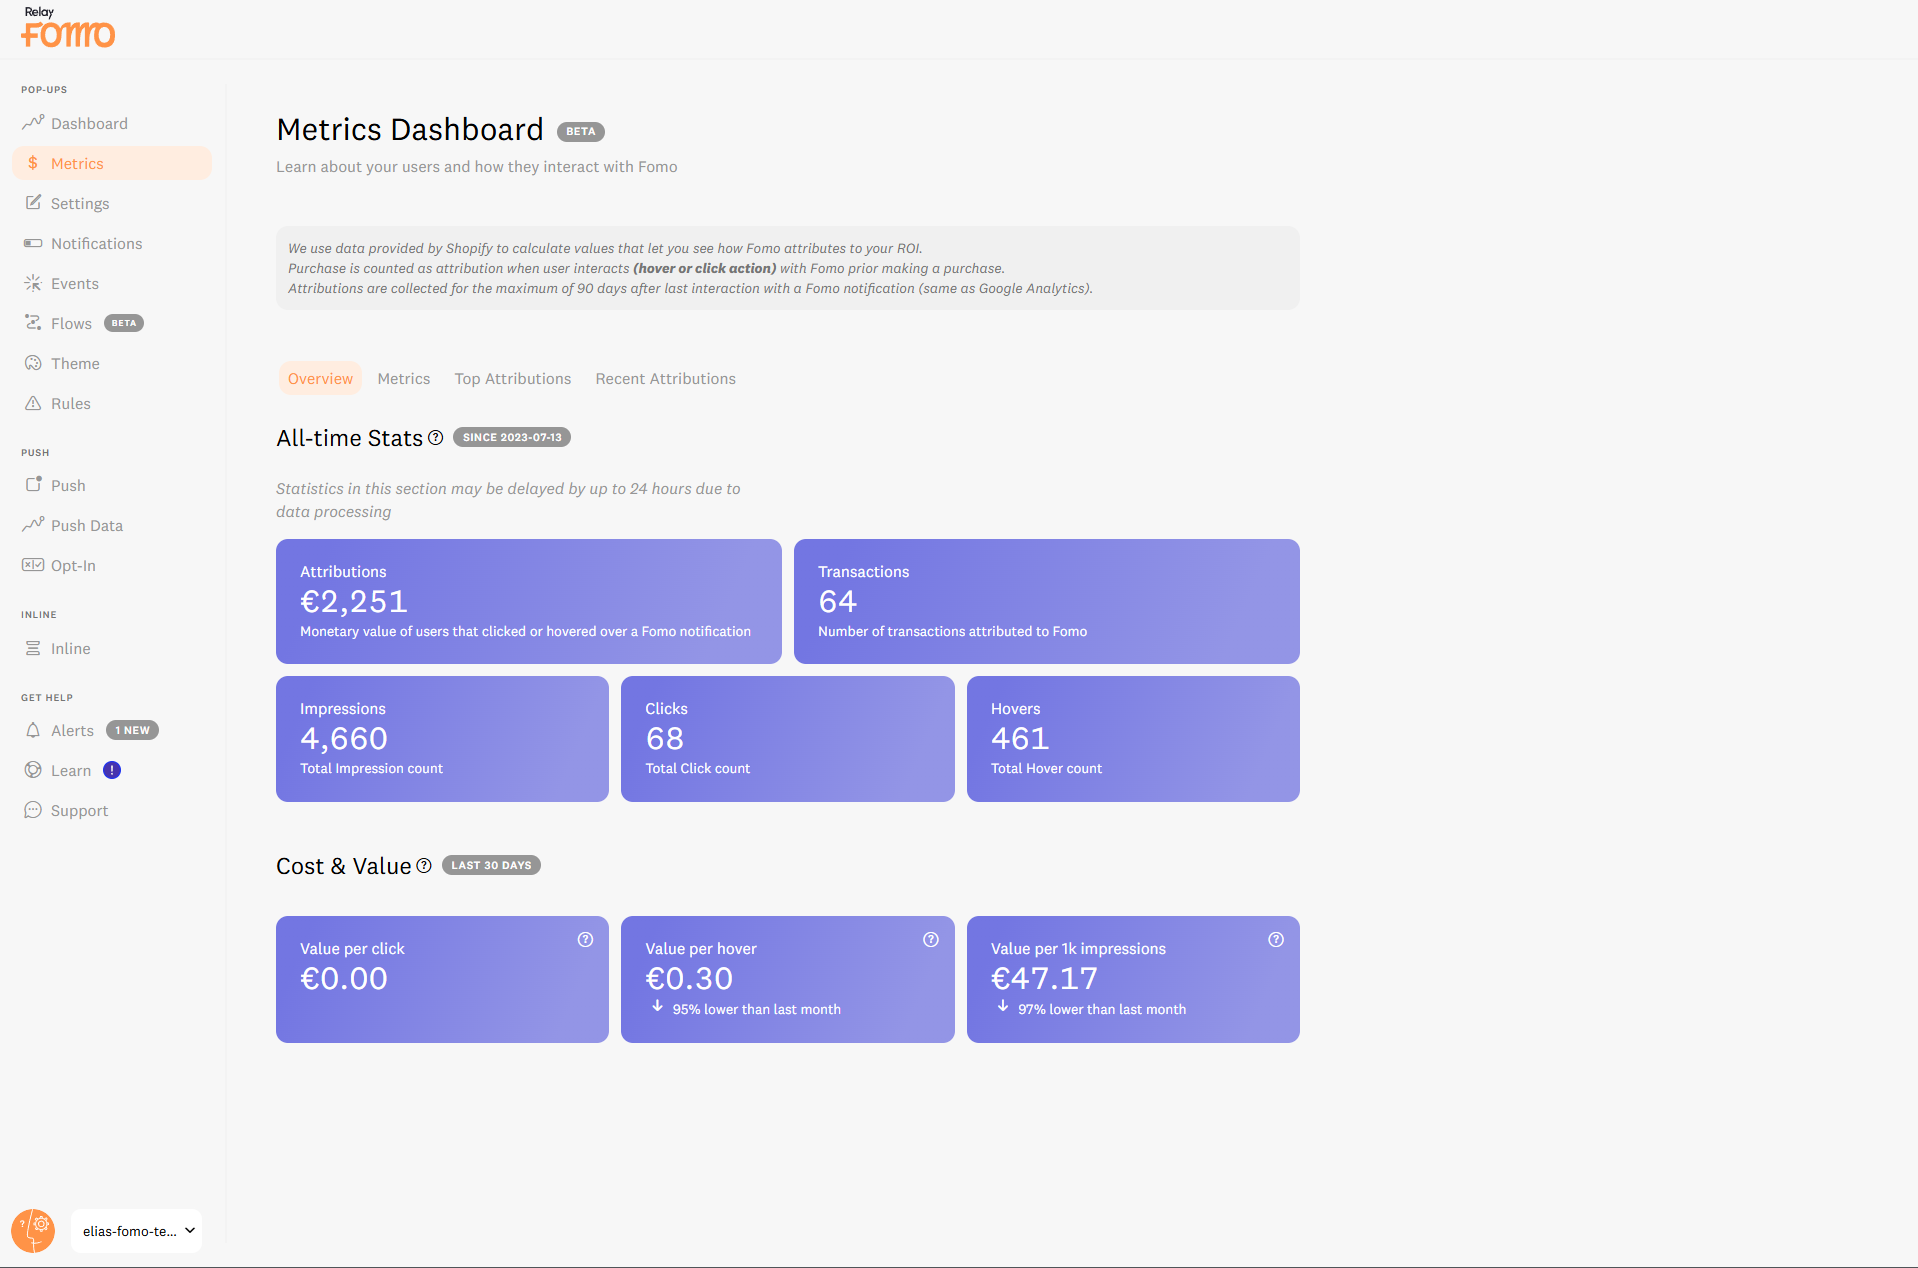
As a business decision-maker, you want a clear grasp of every expense's ROI. Fomo isn't just a widget; it's a revenue generator.

-
The Metrics Tab: Once you get your first conversion, the Metrics tab will be enabled (you'll find it right between the Dashboard and Settings tabs). We’ve recently updated our metrics so you can explore which specific templates are converting best over time! 💎
-
Shopify Users: Good news! Your conversion tracking is automatic.
-
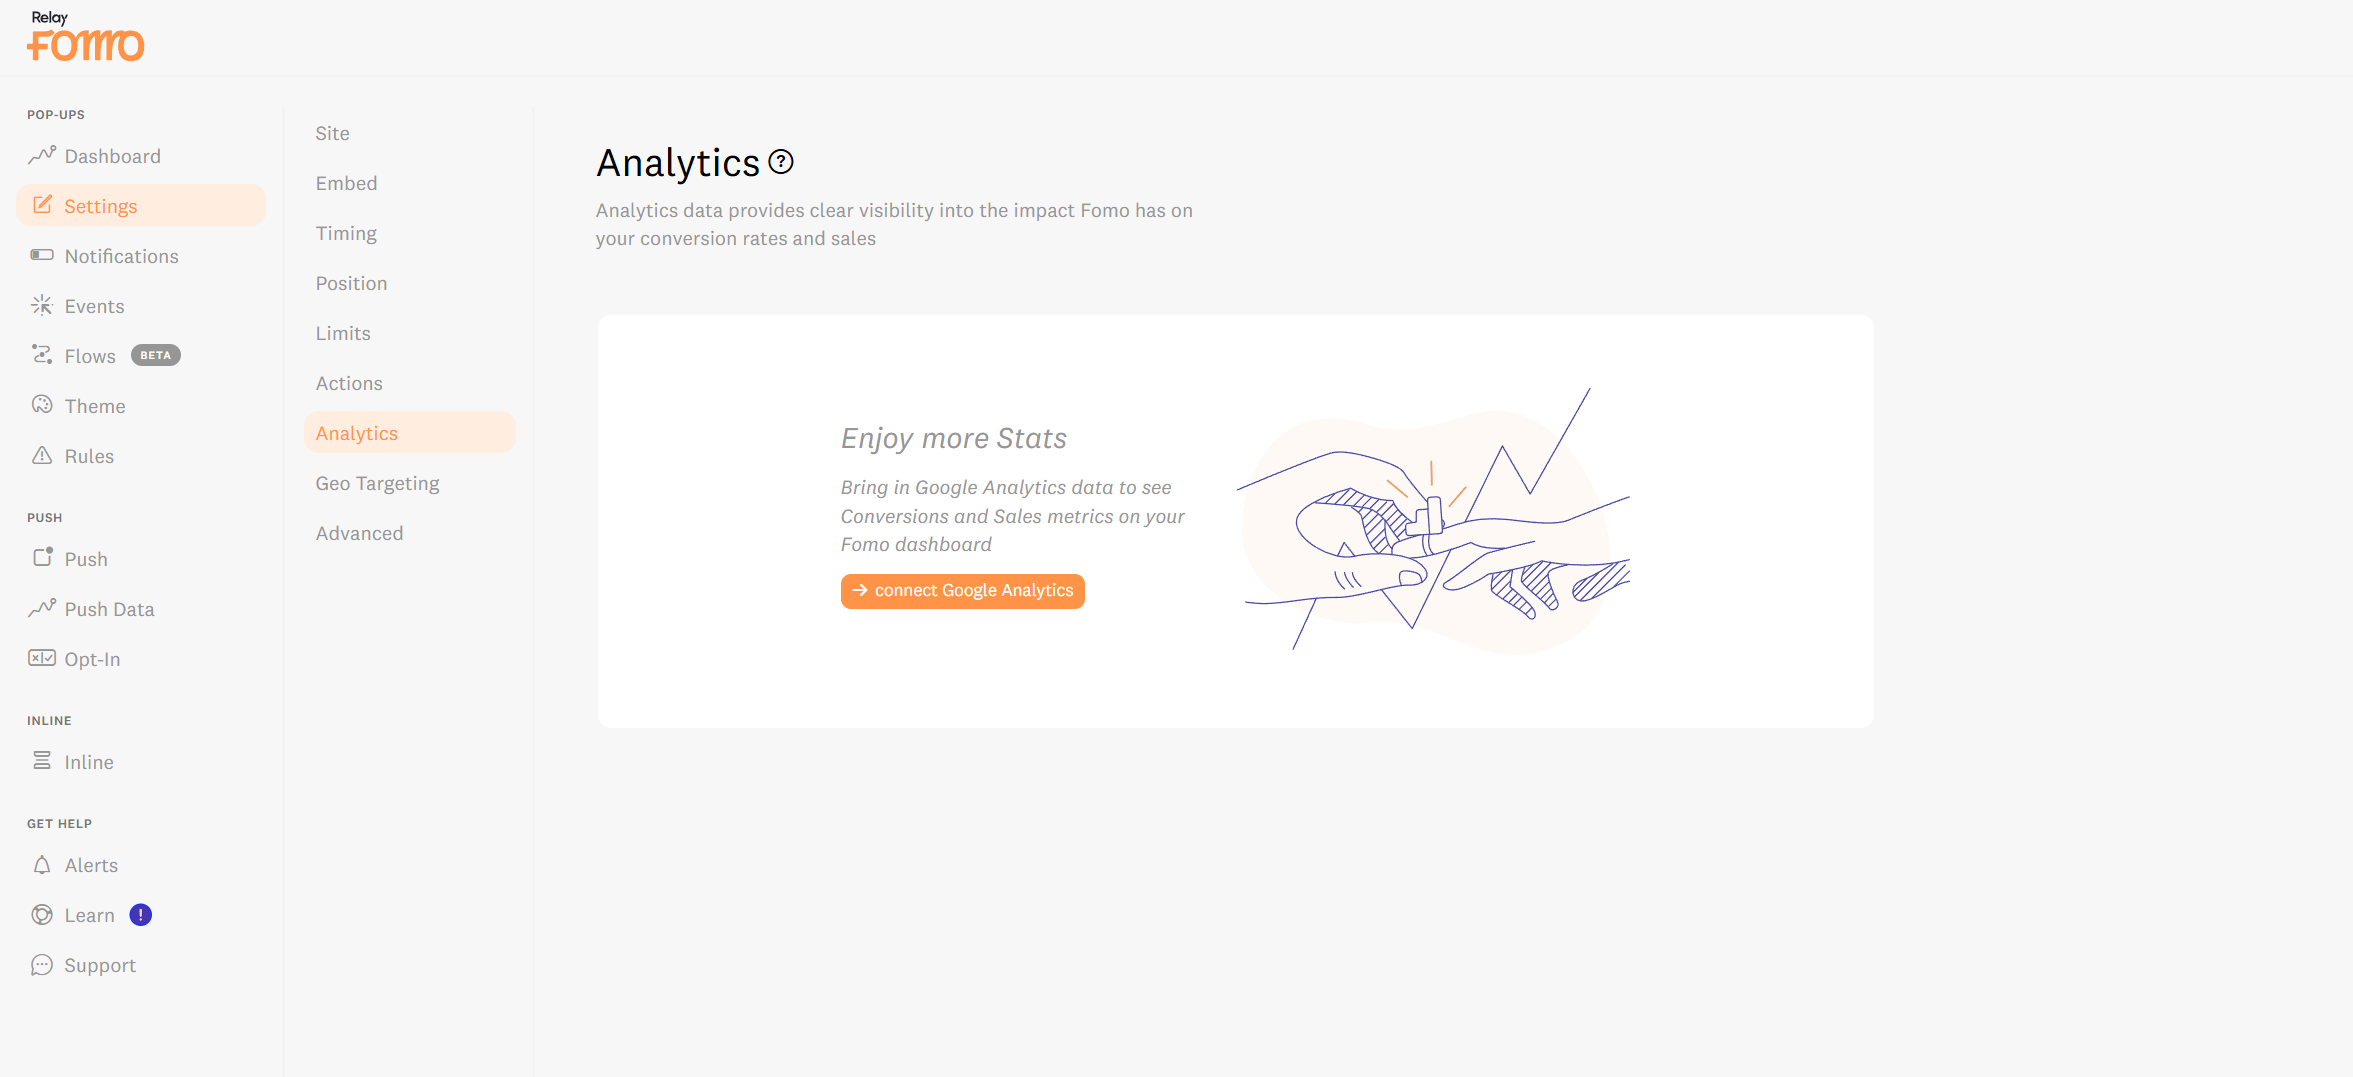
Non-Shopify Users (Custom, WooCommerce, etc.): To see conversion data and ROI, you must connect Google Analytics. Why and How to Connect GA 🌉 Because Fomo lives on your site, it needs a "bridge" to see when a notification click leads to a sale. Connecting Google Analytics provides the "Source of Truth" for your revenue.

-
The Why: Understand exactly how Fomo influences your bottom line. Read more here.
-
The How: Go to Settings > Analytics to sync your account.
- Troubleshooting: If you've connected GA but aren't seeing conversions in your Fomo dashboard, it's usually a quick fix. Check our troubleshooting guide here to get those numbers flowing! 🛠️

Step 5 Connectivity: Showcase Your Social Proof 💎
Connect different data sources to create a "full house" vibe:
- Active Visitors: Show real-time browsing numbers.
- Page Stream: Show live navigation paths.
- Reviews & Subscriptions: Highlight 5-star reviews or newsletter sign-ups. 📬
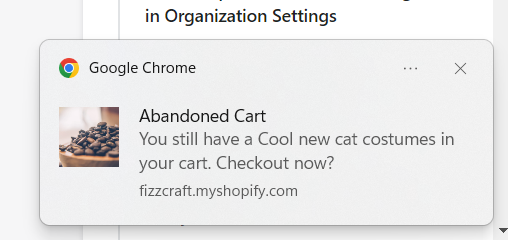
- Abandoned Carts: Remind users that others are coming back for their items!
Step 6 Mastering the Message: Dynamic Text ✍️

Option 1: Edit the Template Message
Don't settle for "standard." Replace the default template messages with your own unique wording. Ensure your message truly represents your brand and speaks directly to your customer base so that every word delivers a powerful, conversion-focused punch. 🥊

You have full access to our dynamic variables wrapped in {{ }} (like {{ first_name }} or {{ city }} ). You get to decide the narrative: keep the essentials, remove the noise, or add extra variables to create the most relevant and persuasive notification for your audience. 📝
Option 2: Template Filters (Professional Polish) ✨
- Propercase: Essential! Turns "jane" into "Jane."
{{ first_name | propercase }}
-
Fallback: Use {{ first_name | fallback [Someone] }} so no message is left blank.
{{ first_name | fallback [Someone] }} or {{ first_name | fallback_random [Someone, A customer] }}
-
Trim_before / trim_after: Clean up messy product titles.
{{ title_with_link | trim_before [ - ] }}
-
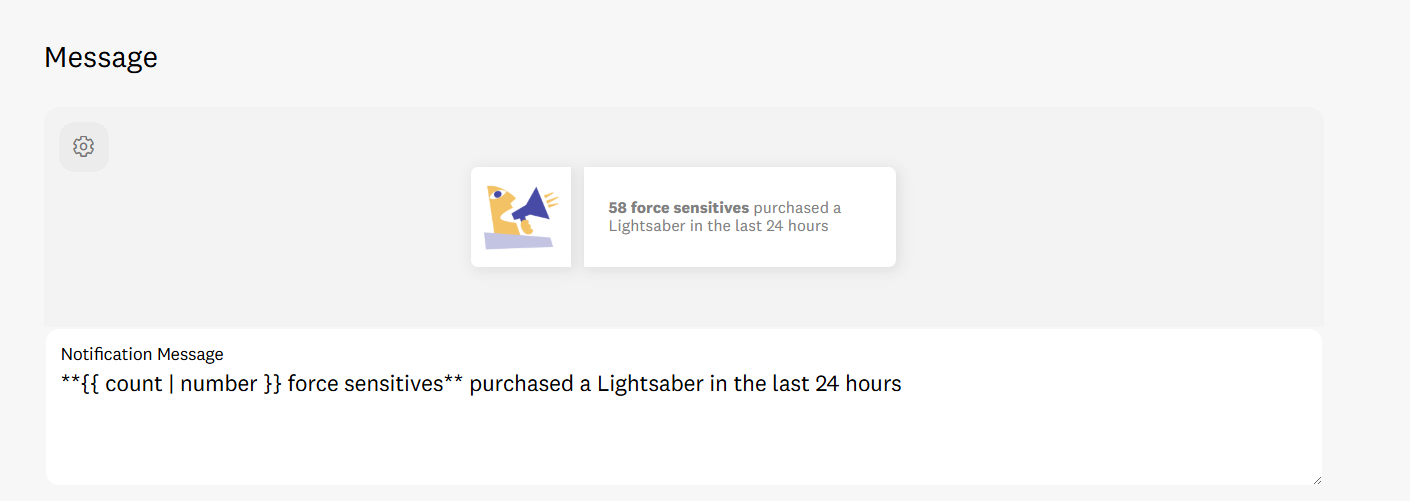
Bolding & Animations: Wrap **{{ title_with_link }}** in bold to make it clickable and add animations like CountUp or Tada! for extra attention. ⚡️
{{ title_with_link | bold }}
For more about Template Filters.
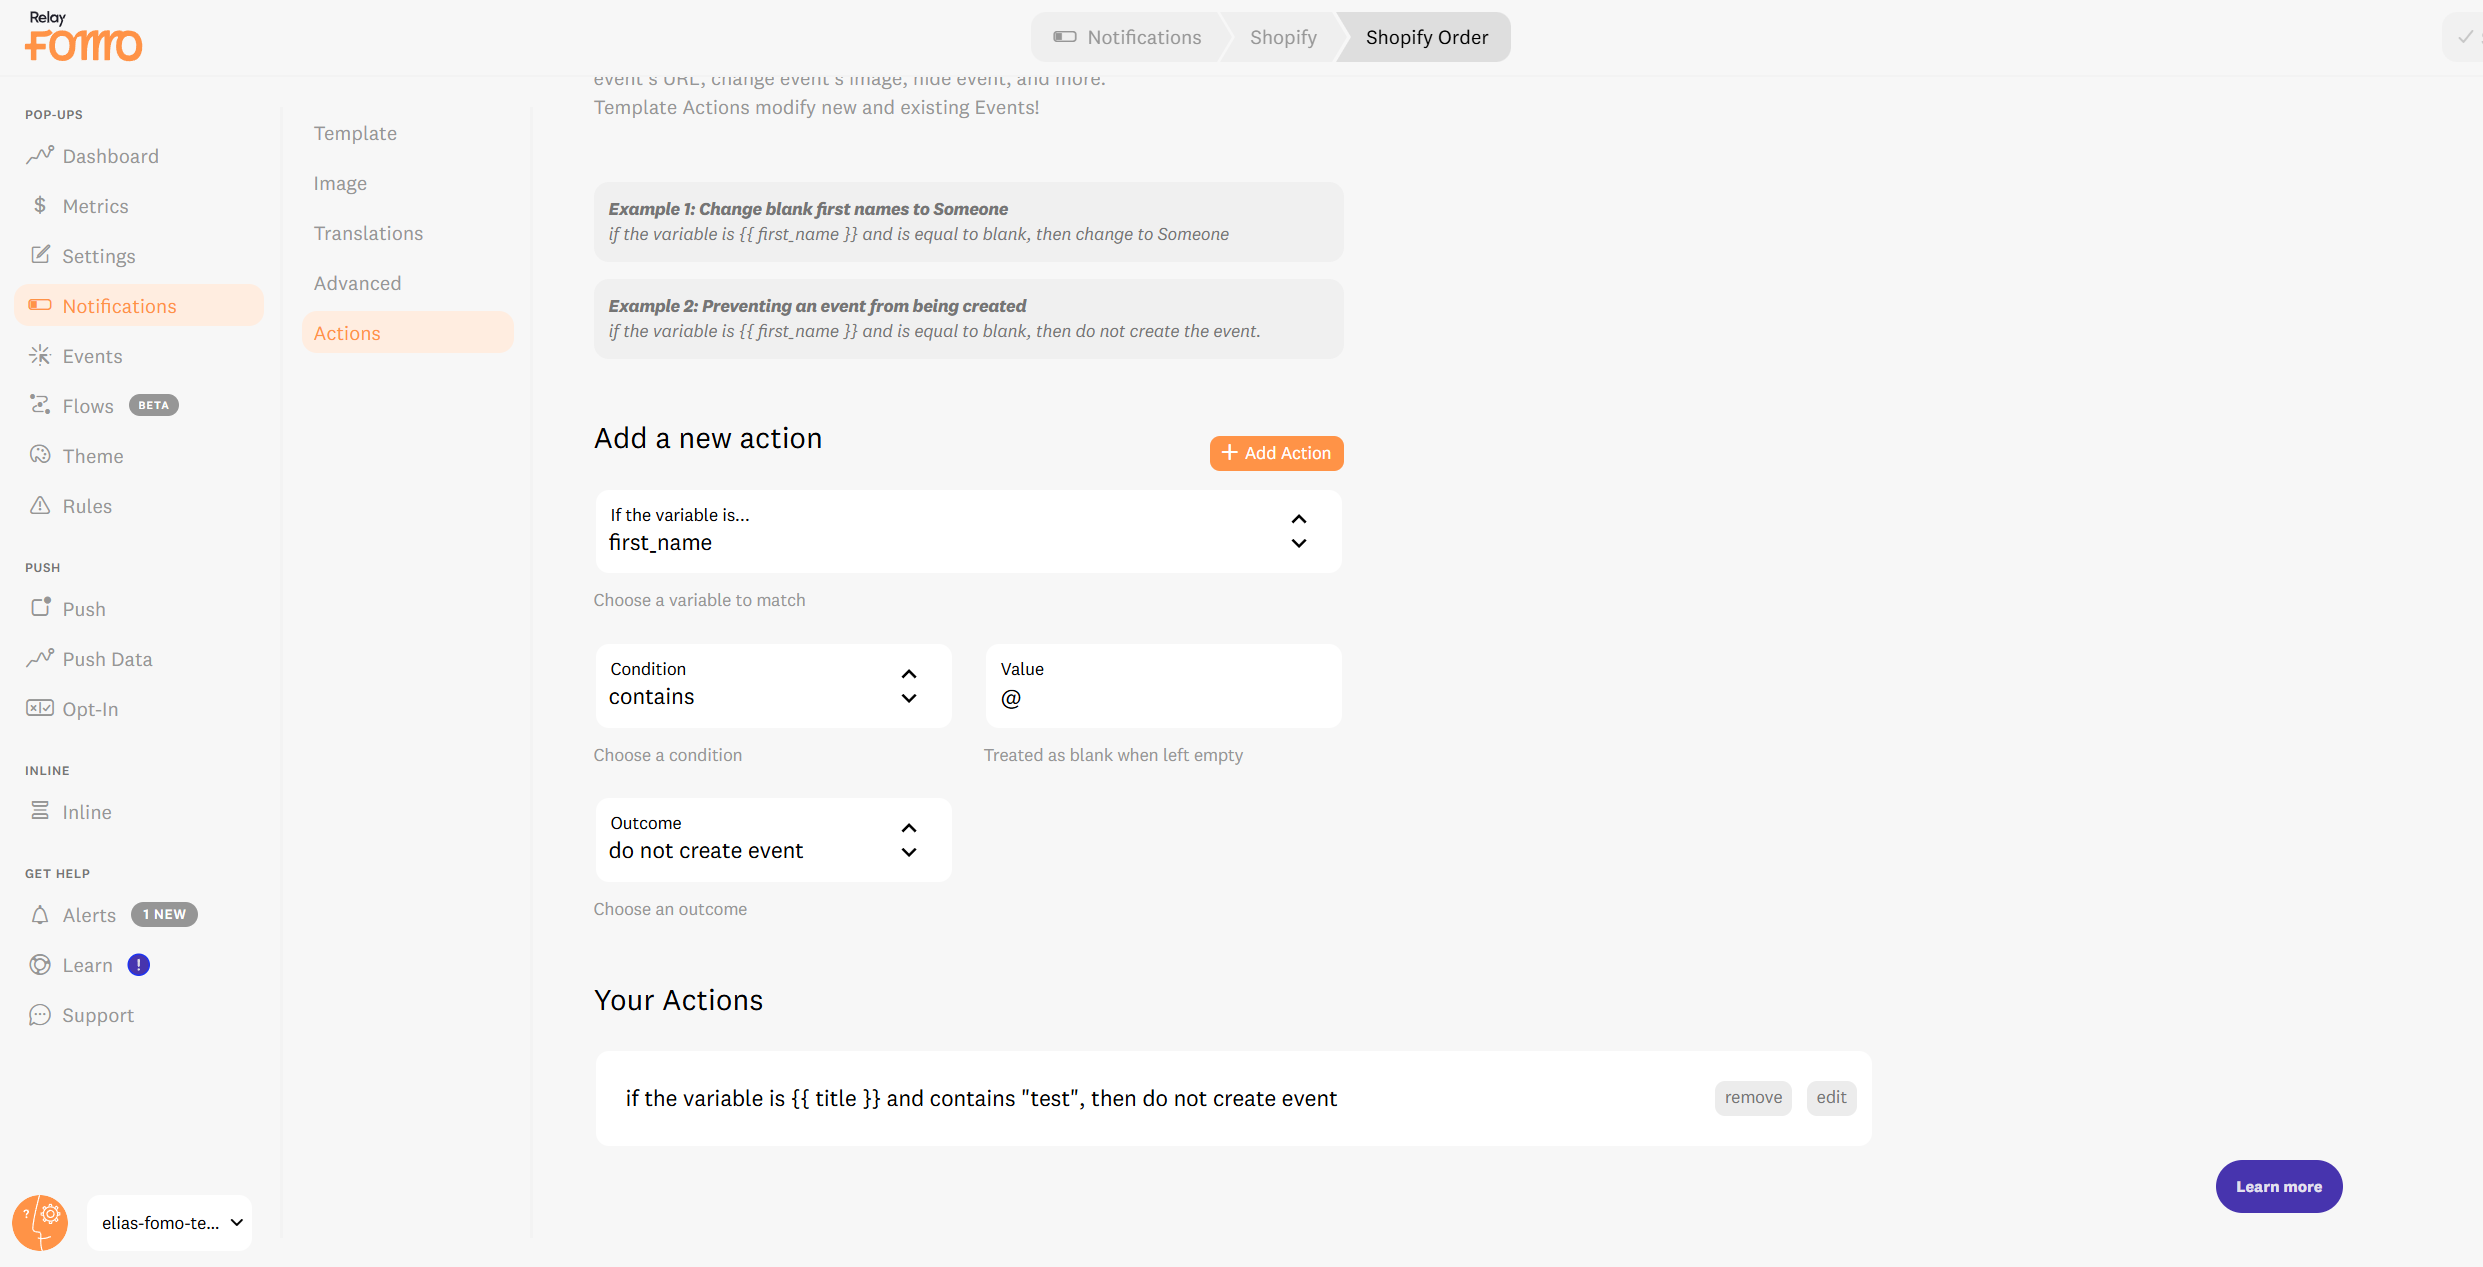
Option 3: Template Actions (Privacy & Logic) 🧠
-
Privacy First: Set an action: If
{{ first_name }}contains@, then change the value to "Jane" or "Johnny." or Do not create the event up to you! 🛡️
-
Exclude Items: If
{{ title }}includes "Package Protection," then do not create event. 🎯

Option 4: The Gray "Not Showing" Stamp 🛠️

This means a variable is missing. Fix it by adding a fallback.
Learn about the "Not Showing" stamp here
Step 7 Advanced Power Moves 🚀
-
Inline Notifications: Show proof natively inside your layout.


-
Push Notifications: Reach customers even when they aren't on your site! 📣

- Flows: Allows you to create a logical order of notifications per URL path.
- Capture Ratio: Control the frequency of events from specific sources.
- Page Rules: Ex: IF on the cart page, THEN hide Fomo. 🛒
- Geo-Targeting: Show local social proof. 📍
-
Custom Roundups: Aggregate events: "53 people bought this today!" 👕
- Multi-Language: Support for up to 27 languages. 🌍

Need a hand? 🤝
We are obsessed with your success. Reach out at . Let's start showing off that social proof! 🥳
-
Email us: Reach out to hello@fomo.com and our team will jump in.
- Work with an Expert: . We’ll hop on a call, share screens, and help you build a social proof strategy that fits your brand perfectly. Pick the day and time here.